Step 1
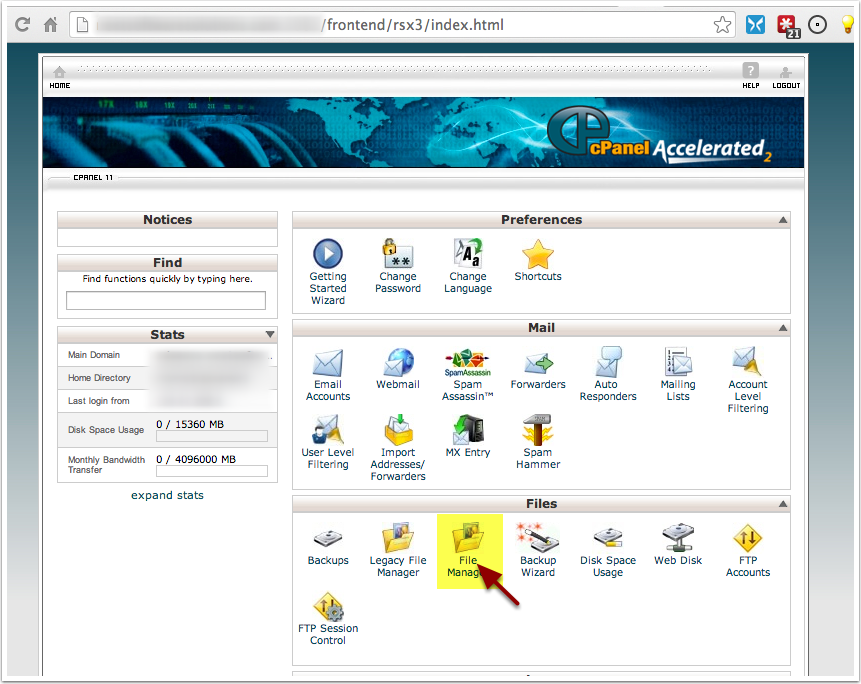
Login to your cPanel account. And open the File Manager. If you are not using cPanel, use your favourite method to upload the files to your server.
Step 2
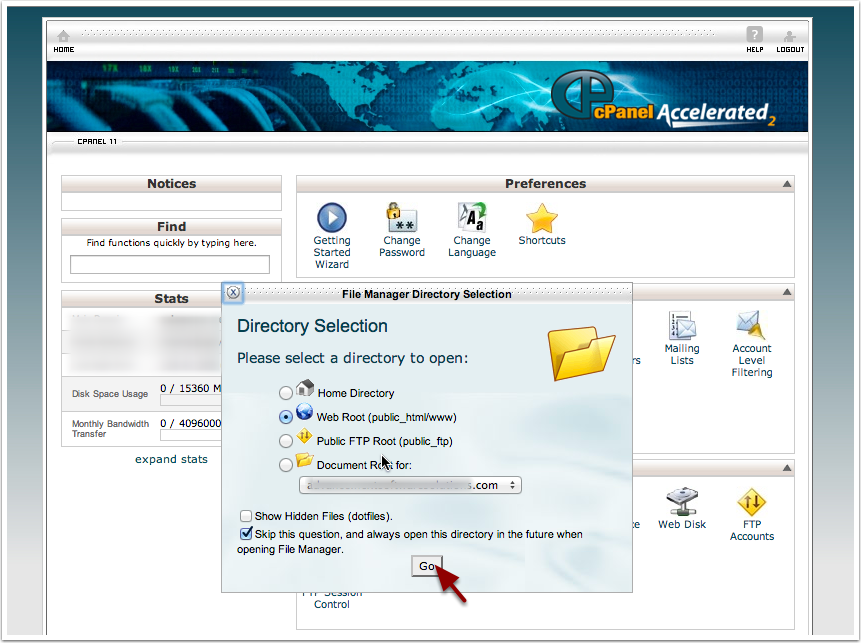
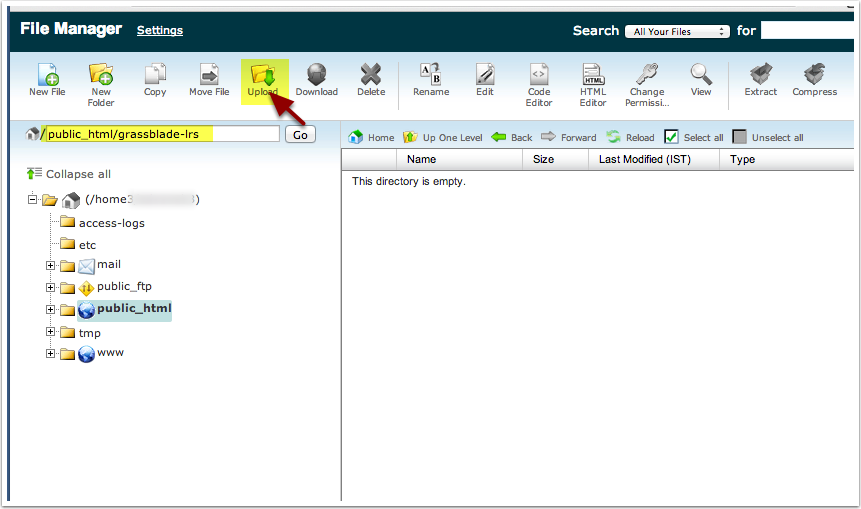
Go to the document/http root. The folder can be named public_html, htdocs, /var/www or anything else depending on your server and configuration.
Step 3
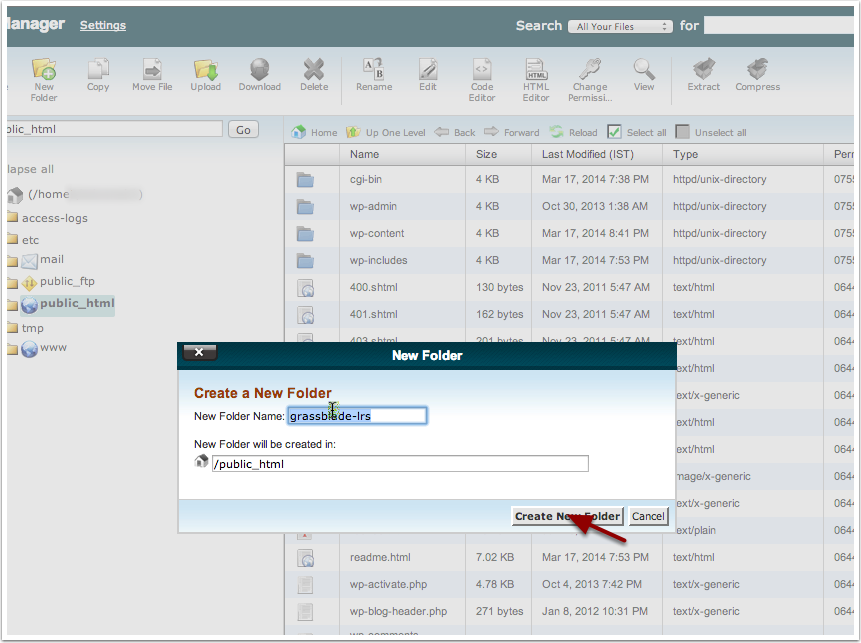
Create a folder named grassblade-lrs
Step 4
Go inside the grassblade-lrs folder and click on Upload to start the upload process.
Step 5
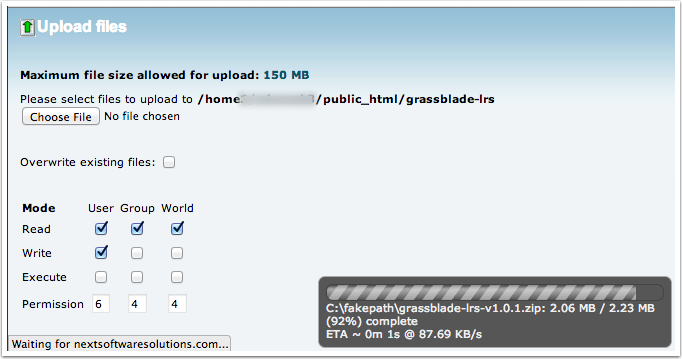
Click on Choose File and select the zipped grassblade-lrs-vX.X.X.zip file to upload. If your server download allow to unzip on the server, or if you are using FTP. Unzip the file on your desktop, and upload all the files.

Step 6
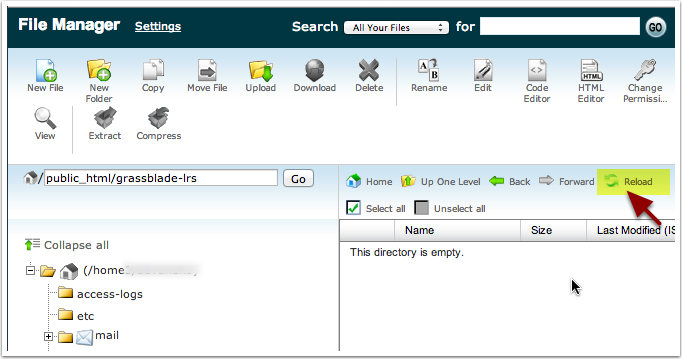
Wait till the file is uploaded and then go back to your File Manager.
Step 7
Click on Reload if the file doesn’t show yet.
Step 8
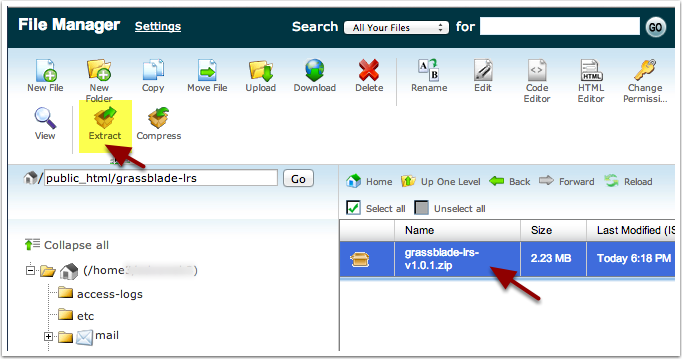
Click on the file name, and click on Extract to unzip the file.
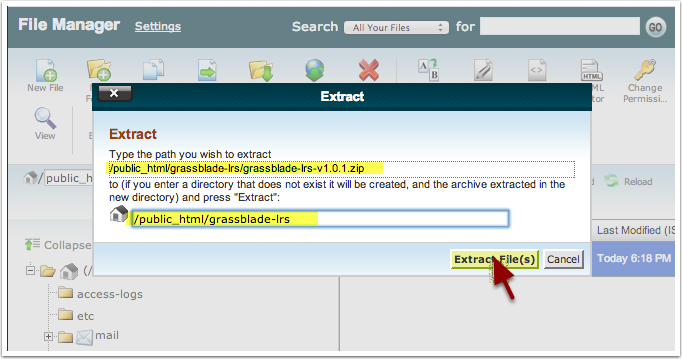
Step 9
Make sure the folder is correct and click on Extract File(s).
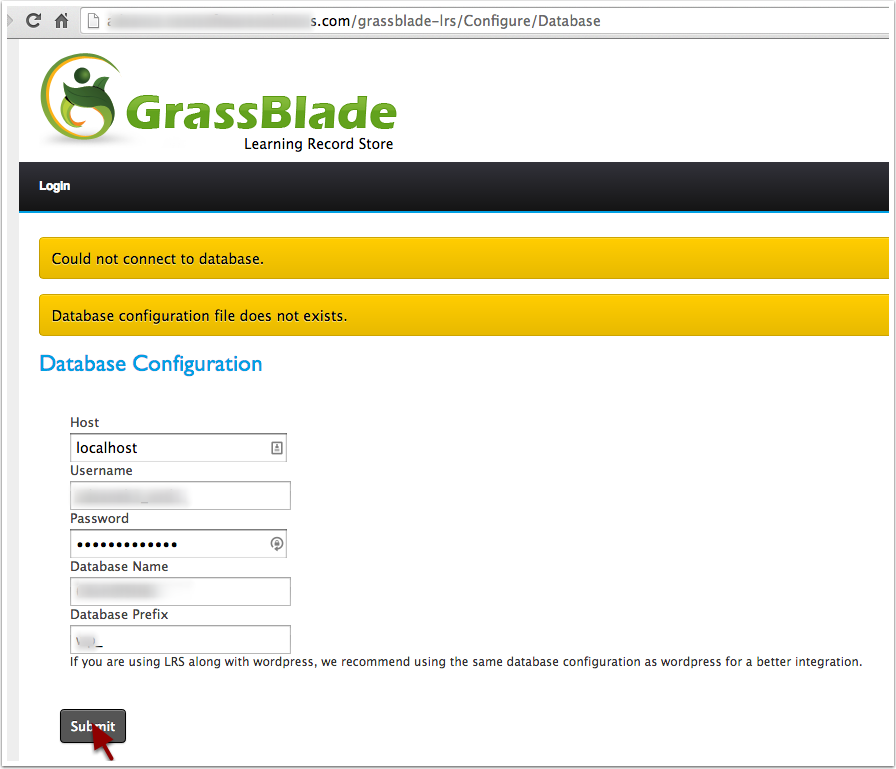
Step 10: Database Configuration
In your browser, go to: http://www.yourdomain.com/grassblade-lrs you will be redirected to http://www.yourdomain.com/grassblade-lrs/Configure/Database
Enter your database details and click submit. Its preferred that you use the same database login details and prefix if you are planning to use the LRS with WordPress and GrassbBlade xAPI Companion plugin.
If you do not have a database, create a MySQL database and enter the details.
Click on Submit.
Step 11
Your database configuration file will be created automatically if php has write permission, or you will get a piece of code. Copy it and create a file with the content as instructed.

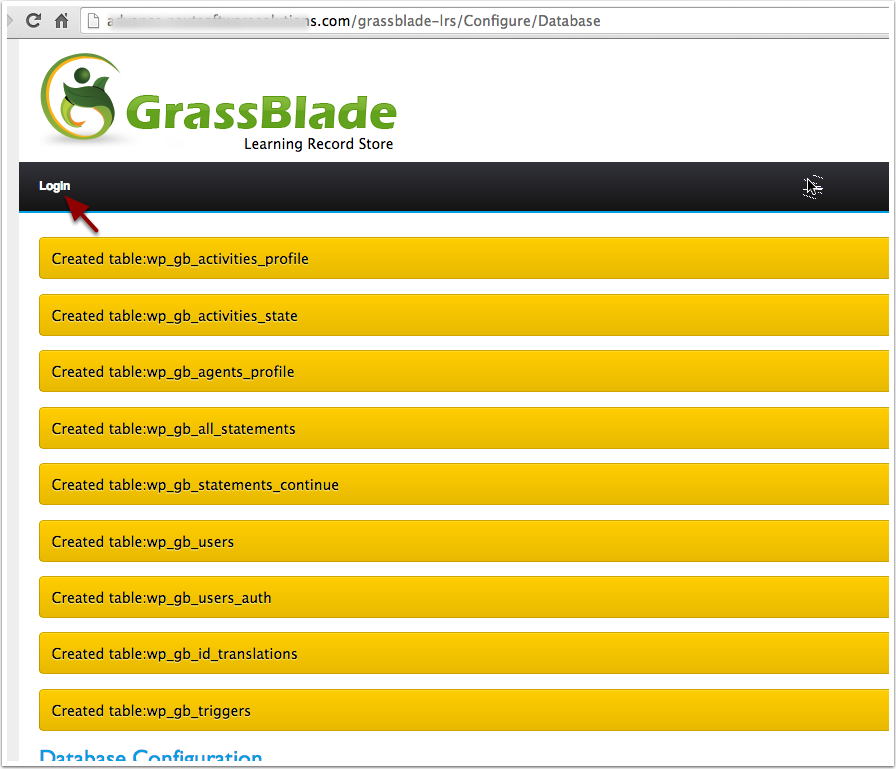
Step 12
You will see that several database tables are created. Installation is done, click on Login to continue logging in with default admin login:
Email: admin@nextsoftwaresolutions.com
Password: admin
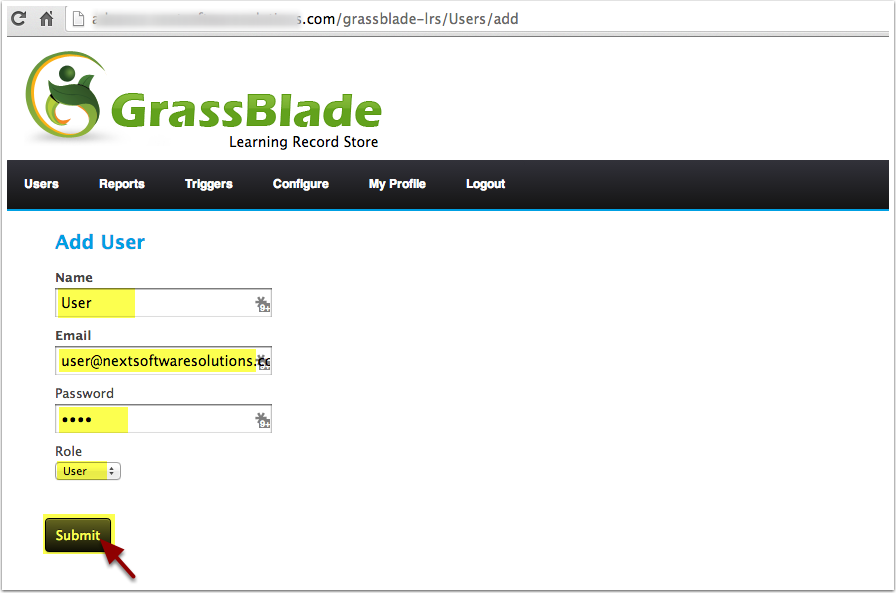
Step 13: Creating a User
Change the admin credentials by going to Users > All Users and clicking on Edit.
Create a new user by going to Users > Add New. Enter the details and select the Role “user”. Click Submit to save.
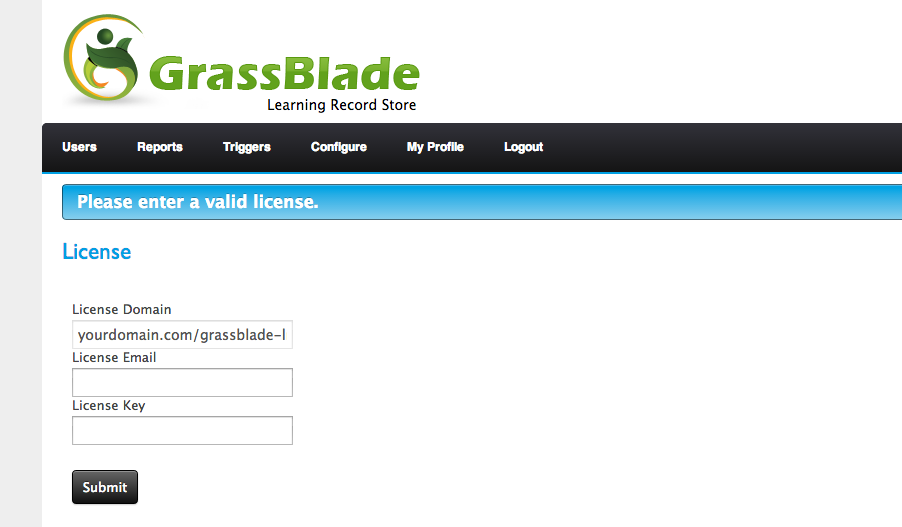
Step 14: License Settings
You will see the License settings page, configure the license email and key from the email you have received.
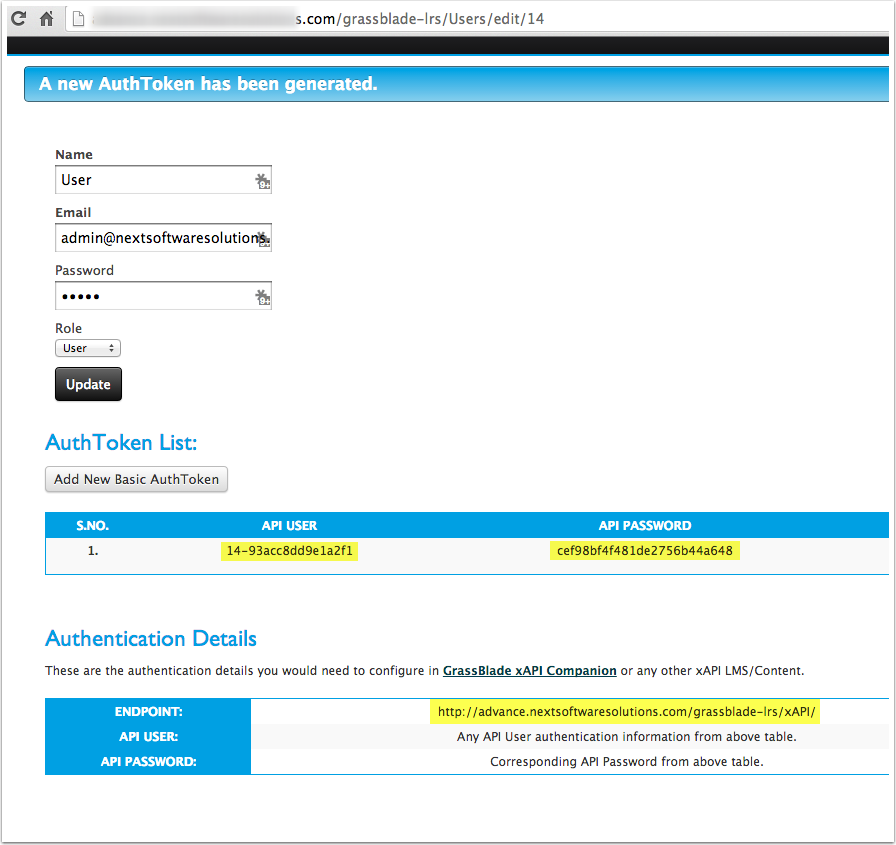
Step 15: Generating Basic AuthToken
On the User Edit page for this new user. Click on “Add New Basic Auth
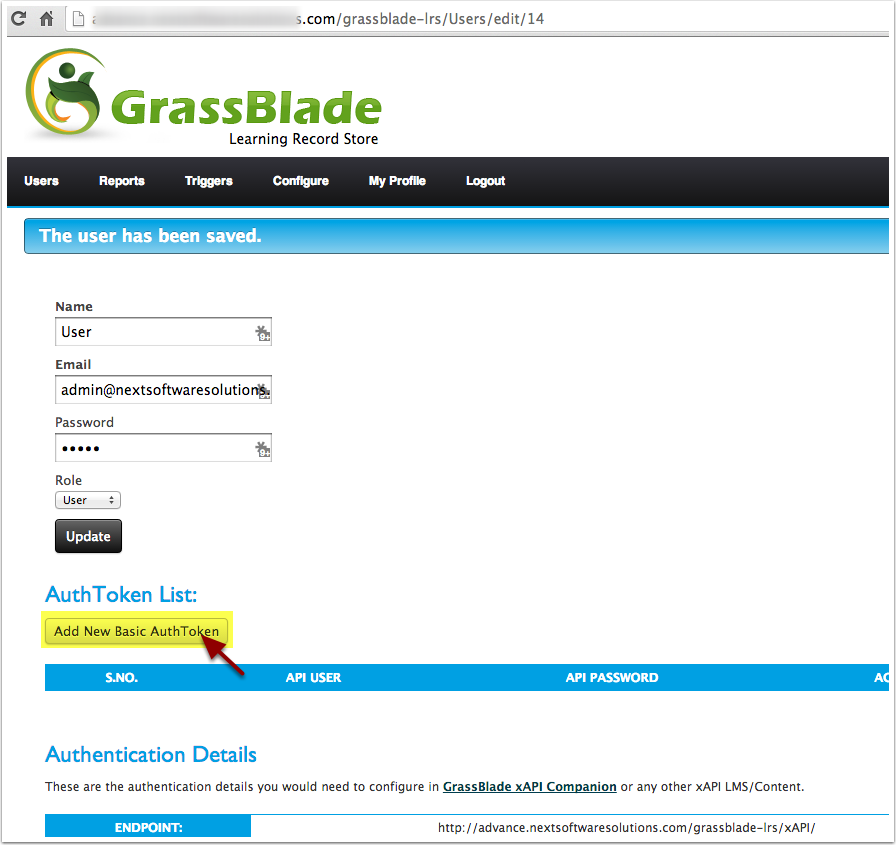
Step 16: Auth details for your xAPI Program
Copy the API User, API Password, and Endpoint URL and use it in your xAPI Program, LMS or Content. If you are using GrassBlade xAPI Companion for WordPress, you need to configure it in your GrassBlade Settings page on WordPress.