Follow these steps to install GrassBlade LRS on your own hosting platform.
Note: If you’re getting any error while installation, please read: GrassBlade Installation Error or you can alternatively order GrassBlade Installation service.
Requirements
This article assumes that you have:
- Downloaded the GrassBlade LRS zip file. Download Now
- Using hosting with cPanel (PHP/MySQL) or with some other File Manager.
You can use other tools for installation like FTP, SSH, and FileZilla. Make sure your hosting meets the System Requirements
Uploading to your Server
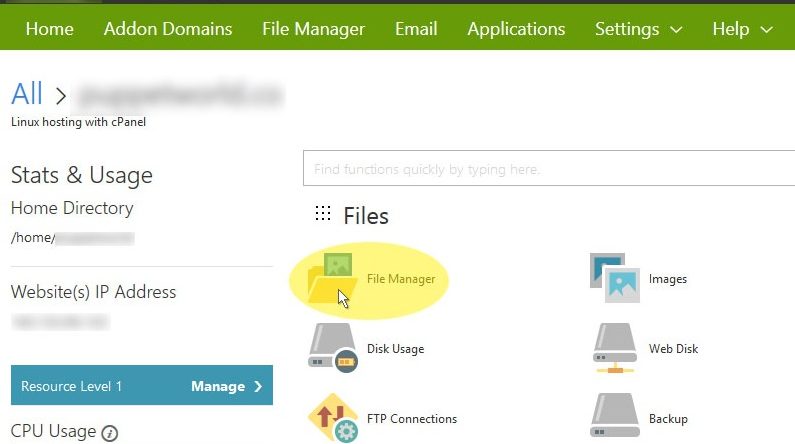
Step 1:
Login to your cPanel account and open File Manager.
Step 2:
Go to the document/http root. The folder can be named public_html, htdocs, /var/www or anything else depending on your server and configuration.

Step 3:
In File Manager (public_html), create a new folder named grassblade-lrs
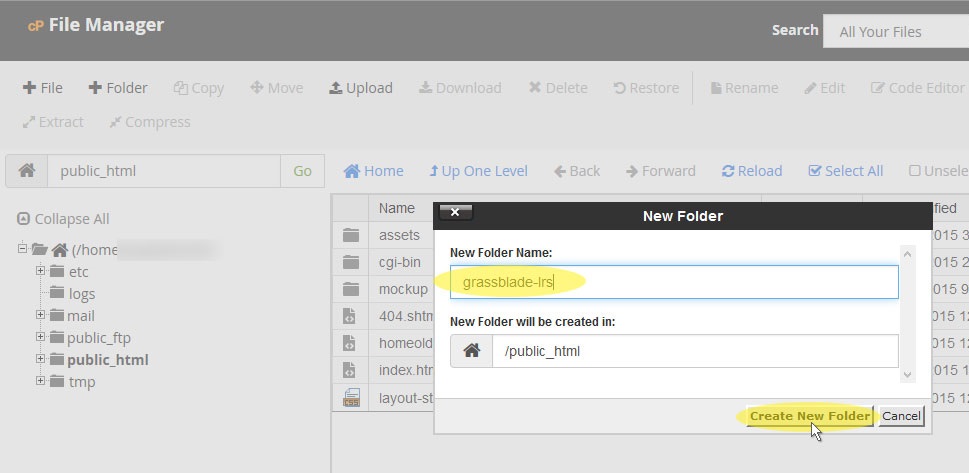
If you use any other name for the folder, you will need to make several file changes. Please check here.
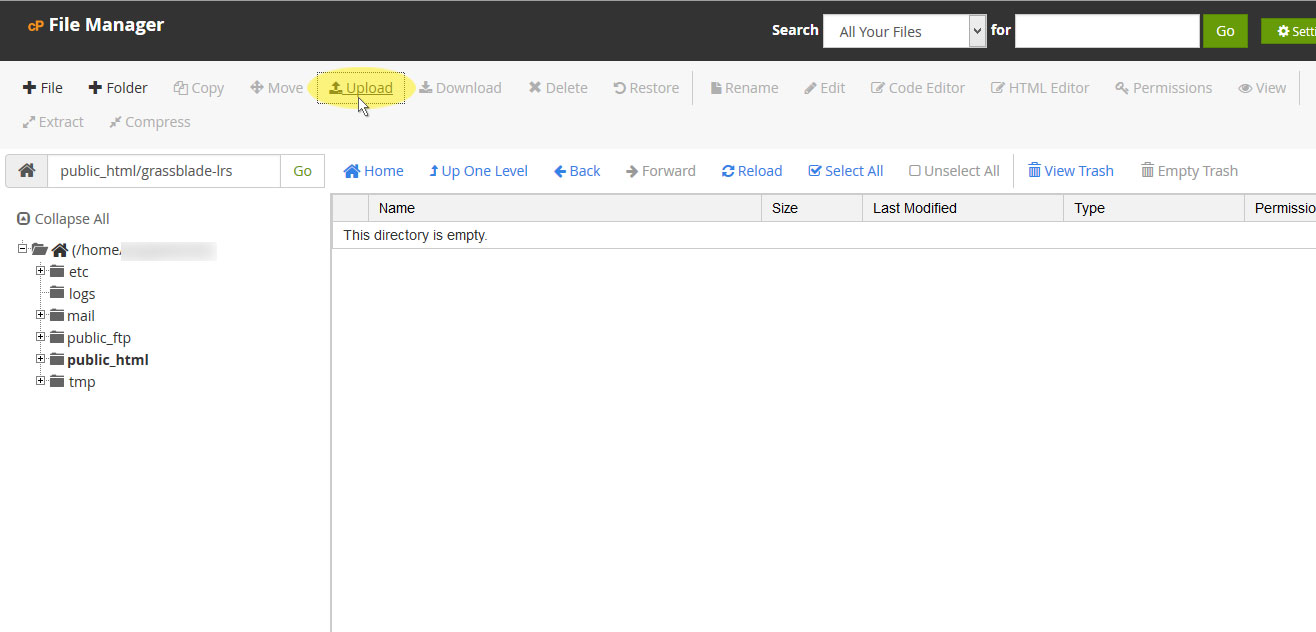
Step 4:
Go to grassblade-lrs folder and click on Upload to start the upload process.
Step 5:
Click Browse and select the grassblade-lrs-vX.X.X.zip file you had downloaded in the first step to being uploaded.
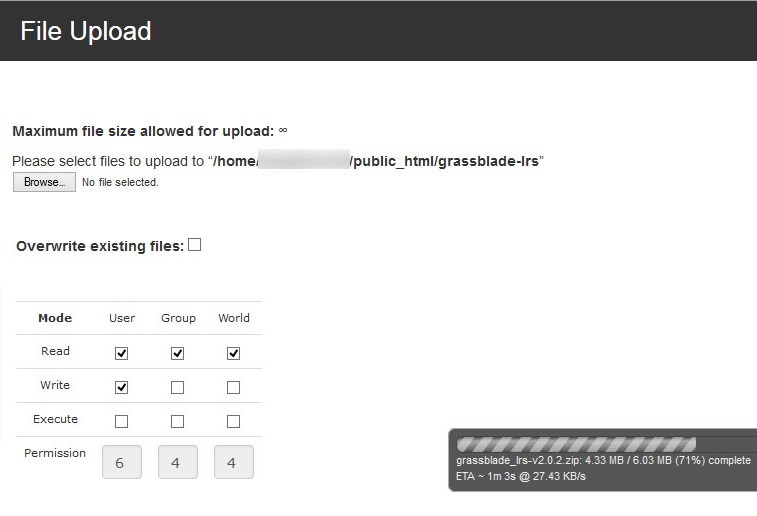
Wait till the file is uploaded and then go back to your File Manager. Click on Reload if the file doesn’t show yet.
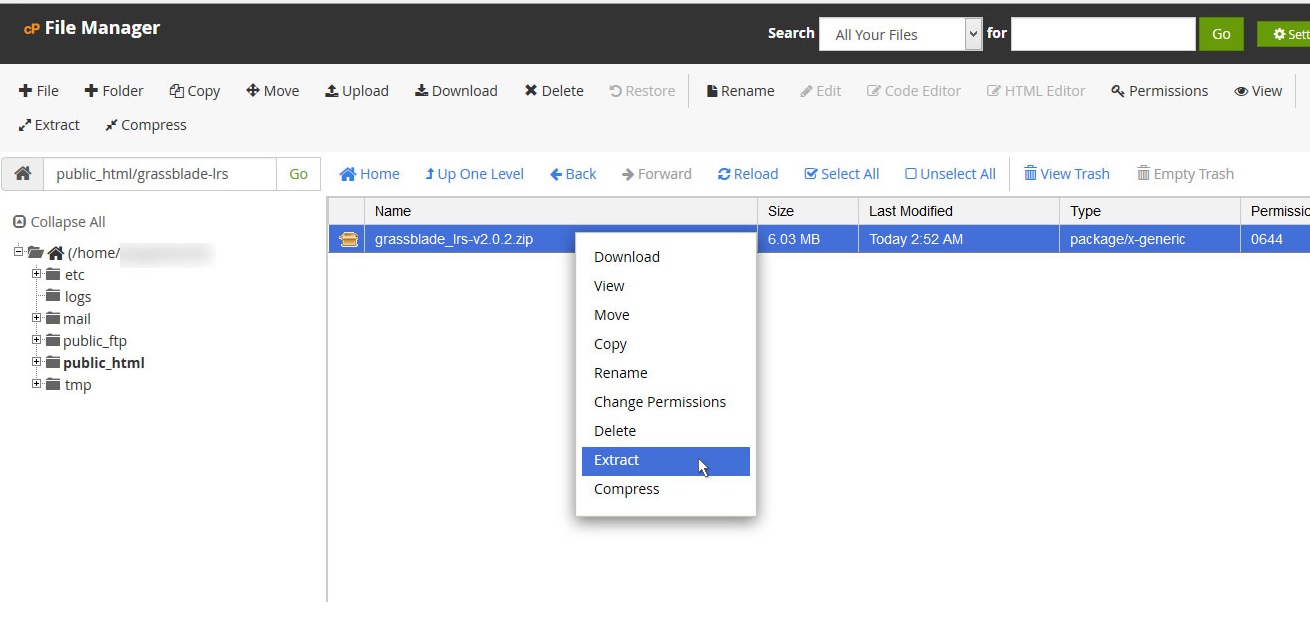
Extract File
Step 6:
Select your file and click the Extract option.
Make sure the path points to the “grassblade-lrs” folder, and click the Extract File(s) button.
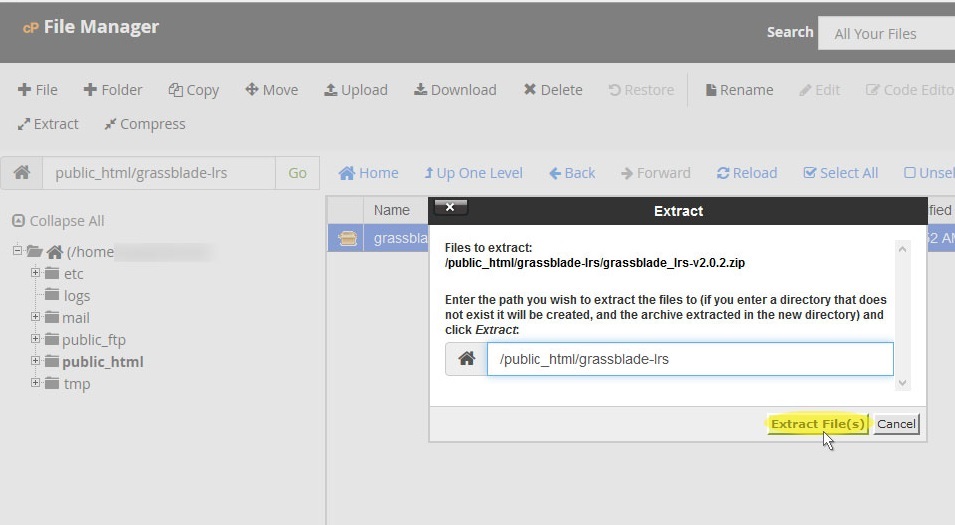
When the process is completed, close the extraction window, and press the reload button to see the extracted files.
Database Configuration
If you’re facing any issues, please check this article.
Step 7:
In your browser, go to https://www.yourdomain.com/grassblade-lrs it will be redirected to https://www.yourdomain.com/grassblade-lrs/Configure/Database
On the database configuration page, enter the following information to connect GrassBlade LRS with the database.
- Database Username
- Database Password
- Database Name
- Database Table Prefix (Optional)
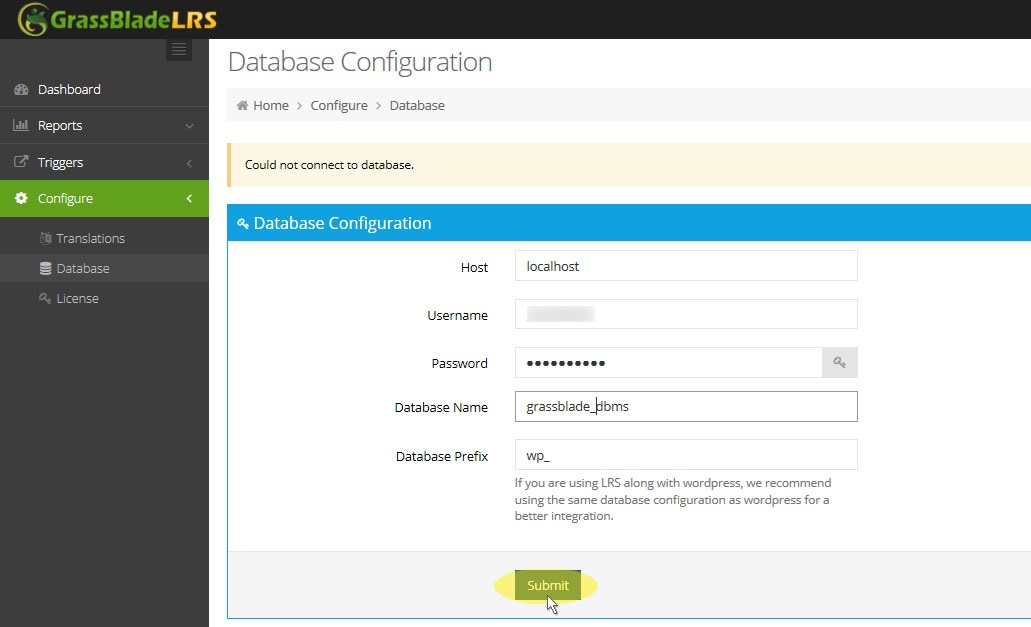
Enter your database details and click submit button to start the process.
It’s preferred that you use the same database login details and prefix if you are planning to use the LRS with WordPress and GrassBlade xAPI Companion plugin (see reference).
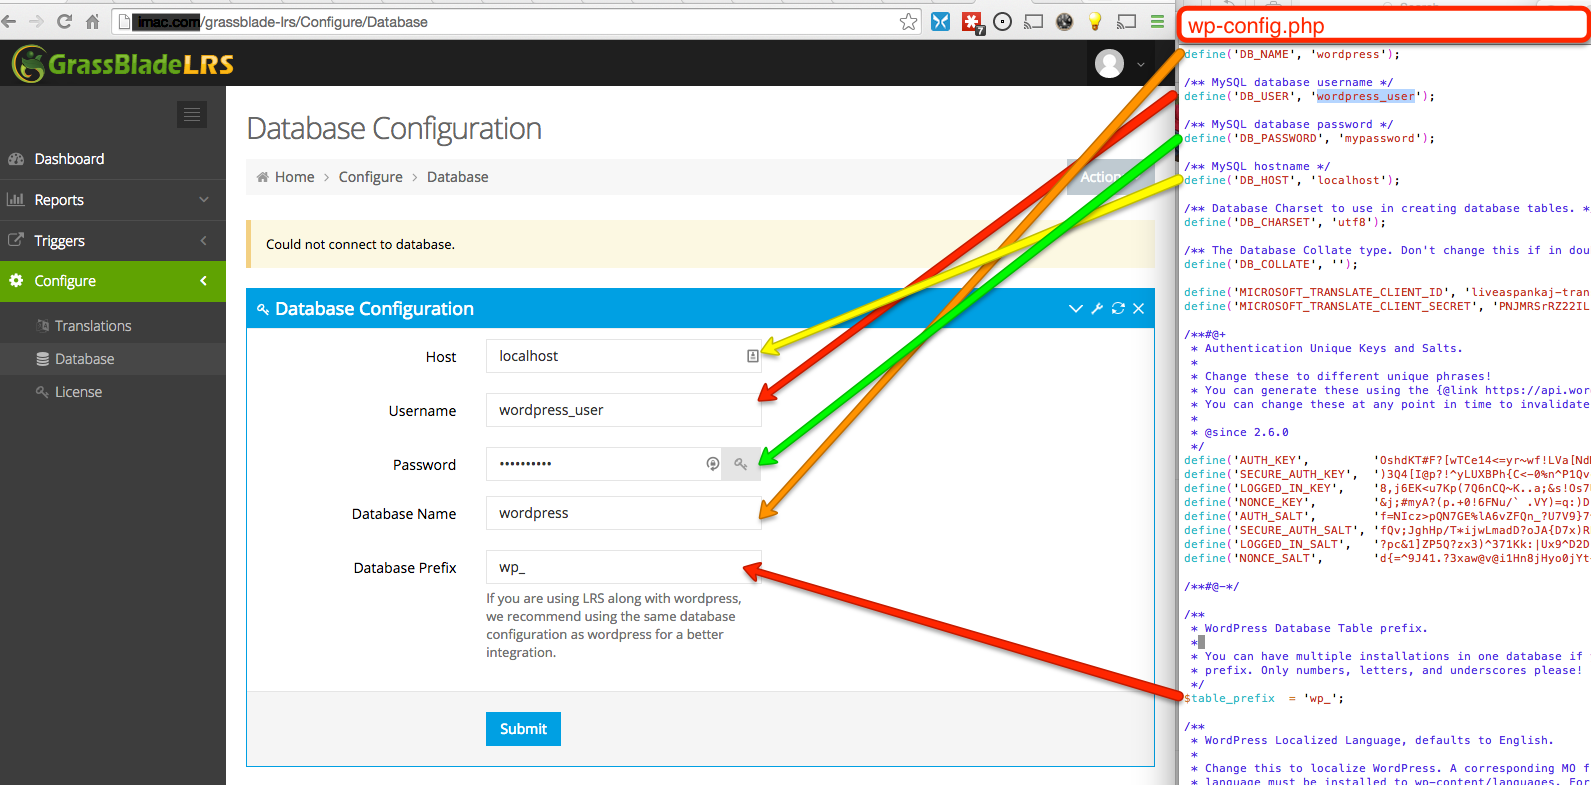 see reference
Using the same database currently has only one advantage:
If you are using Articulate, you can use the feature to import Translation which helps you see the content name, slide name, questions, and answers instead of the odd URL ids that Articulate sends.
Step 8:
You will see a message showing, “Database configured and connected”.

Your database configuration file will be created automatically if PHP has write permission, or you will get a piece of code. Copy it and create a file with the content as instructed.
You will see that several database tables are created. If you see a bunch of messages and errors, refresh the page a couple of times.
Your GrassBlade LRS is installed successfully.
Step 9:
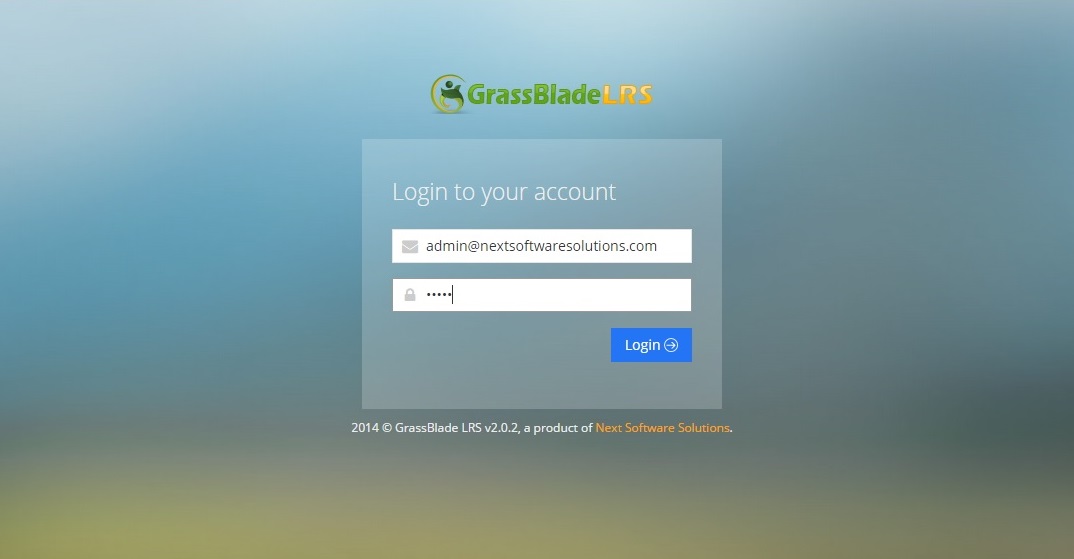
Go to Dashboard or click on the Logo, it will take you to the login screen. Use default credentials to get started.
Email: admin@nextsoftwaresolutions.com
Password: admin
Step 10:
Go to Configure > License to verify your purchase. Enter your email (used for purchase) and the LRS license key you received via email or check here.
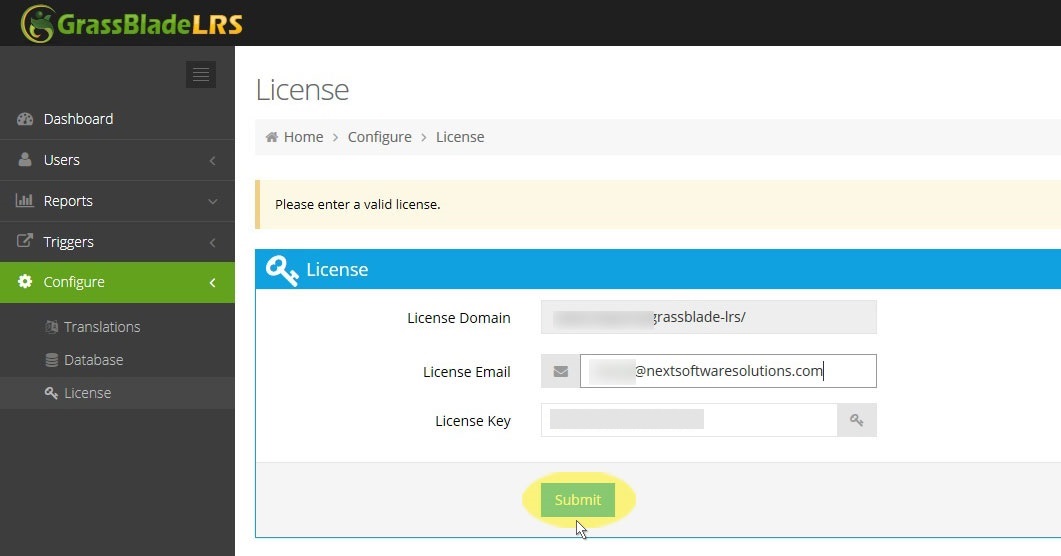
If you see an error, please make sure:
- You are using the license key for GrassBlade LRS and not GrassBlade xAPI Companion
- cURL is installed and enabled for PHP.
- Using on localhost, or on an additional test site? See this.
Related Article: Where can I find my license key?
Creating a Manager
Step 11:
Make sure you change the default admin credentials by going to Managers > All Managers and clicking on Edit.
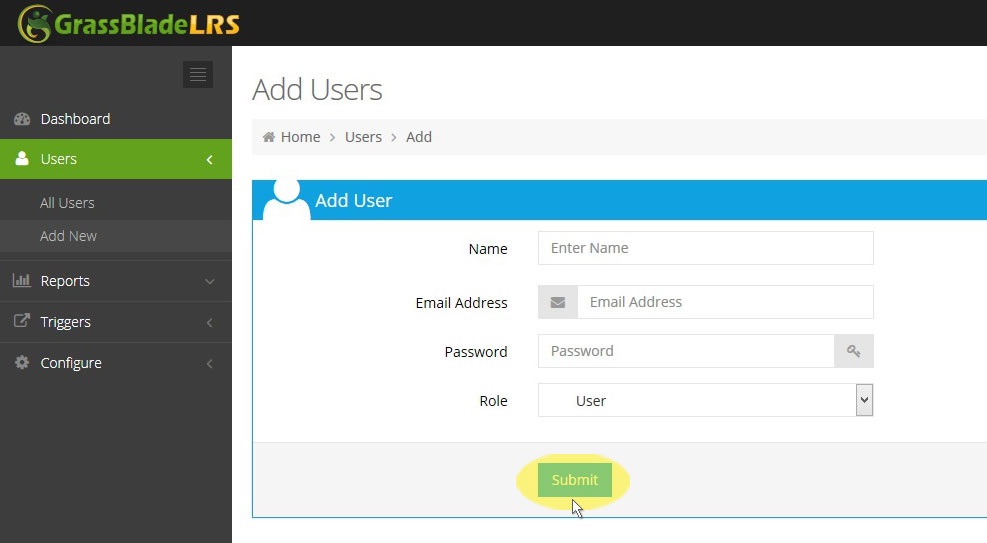
Create a new manager:
- Go to Managers > Add New.
- Enter the details and select the Role “user”.
- Click Submit to save.
PS: Please note that “Manager” was earlier named as “User” and hence you might find both words used interchangeably in some places.
Generate AuthToken Credentials
Step 13:
On the Manager edit page, click on the “Add New Basic AuthToken” button.
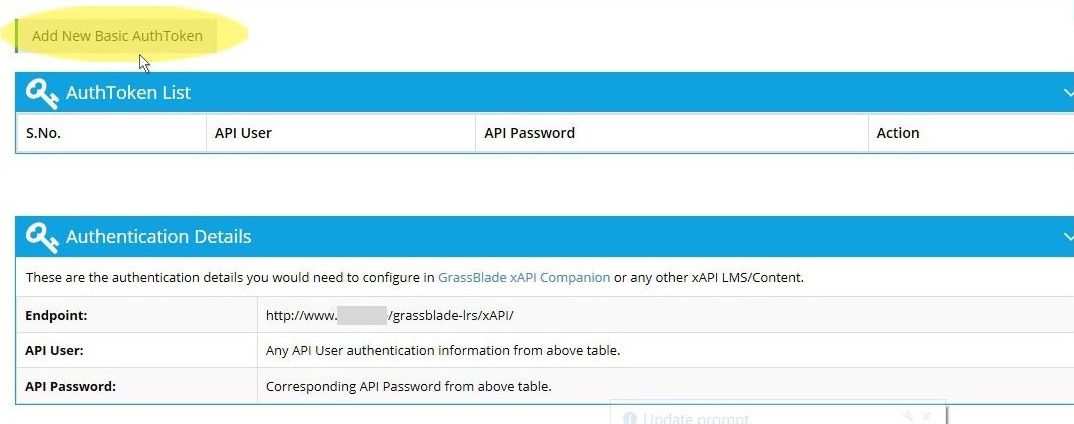
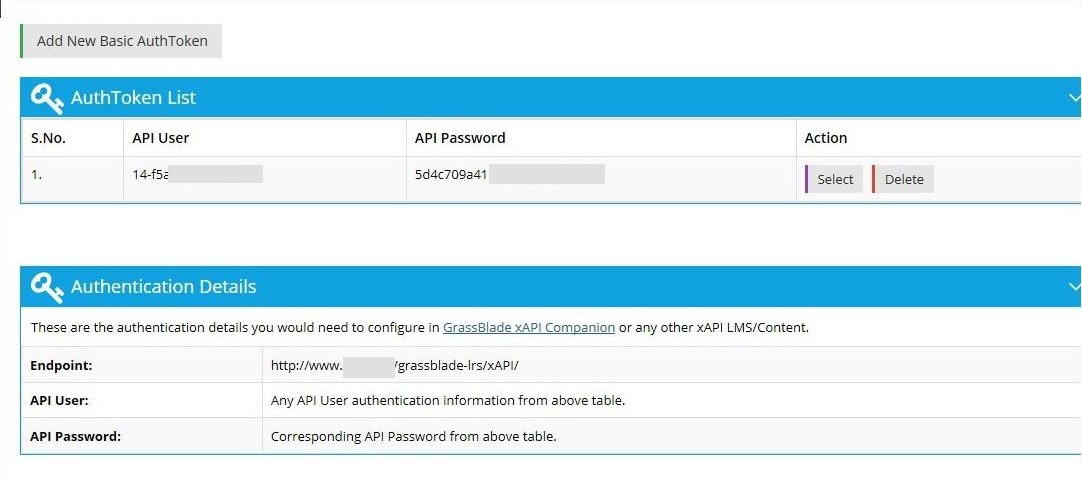
Step 14:
You got the AuthToken credentials for your xAPI Program. You can use it in any application for xAPI.
- API User
- API Password
- Endpoint URL
Congratulations !! Your LRS is ready to record statements.
If you are using GrassBlade xAPI Companion for WordPress, you need to configure it on your GrassBlade Settings page on WordPress.
Note: If you’re getting any error while installation, please read: GrassBlade Installation Error or you can alternatively order GrassBlade Installation service.
We hope you got this information useful for this LRS configuration. For more latest product updates and information get in touch via Facebook and Twitter.