Yes, you can integrate GrassBlade LRS with Zapier using Webhooks. Here is a simple step by step guide to set it up.
For an illustrative example, in this guide, we will integrate GrassBlade LRS with Google Sheets using Zapier Webhooks to save all the attempted statements details in Google Sheet.
You can connect GrassBlade LRS with any other app that Zapier support, you can also use any other verb that works best for your requirements.
Let’s go.

Setting up your Webhook Action
Step 1:
First, you need to create an account with Zapier, if you already have, move to the next step.
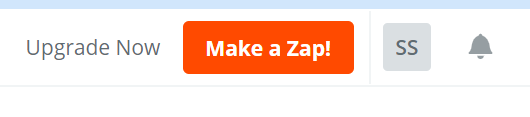
Step 2:
Log on to Zapier and click Make a Zap button, on the top right corner.
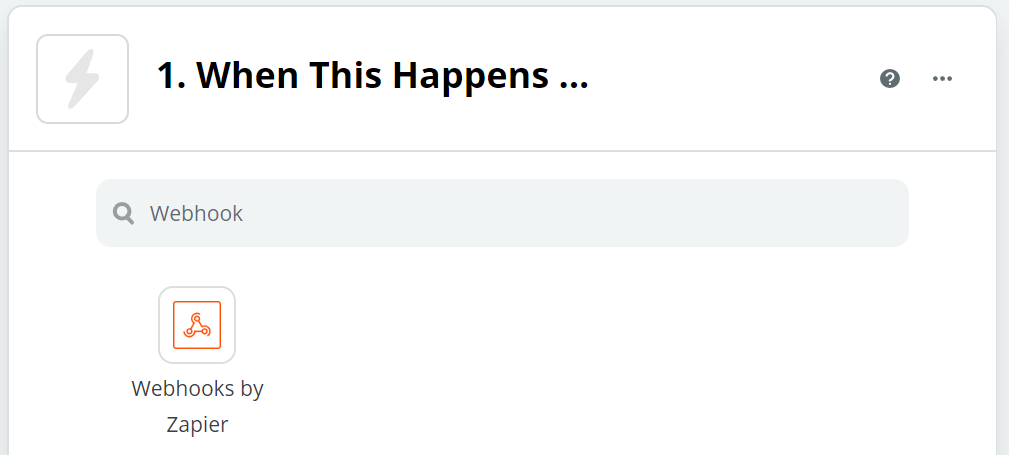
Step 3:
Search and select Webhooks app in the first step “1. When this happens …”.
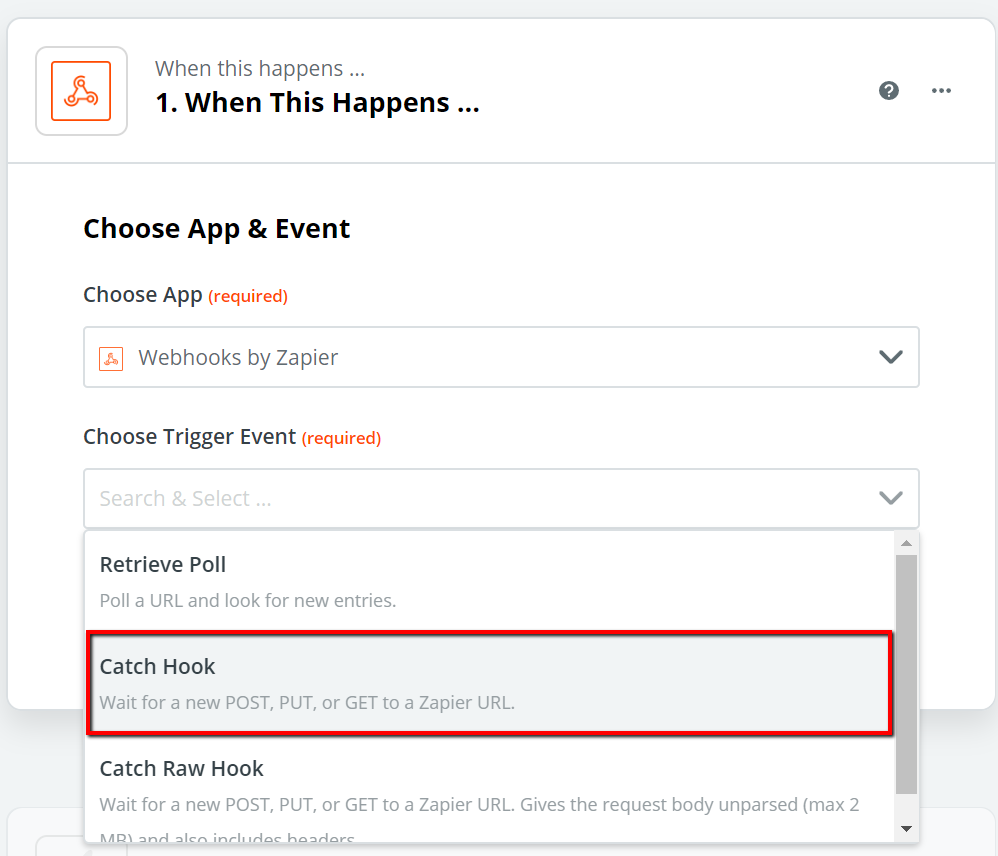
Step 4:
From “Choose Trigger Event” dropdown, select Catch Hook and click the Continue button.
Step 5:
Now, you have generated a Webhook URL successfully. Copy it.

Step 6:
In GrassBlade LRS, go to Triggers > Add New and create a new trigger as per your need. We’re creating an Attempted trigger for Zapier to show, how it works?
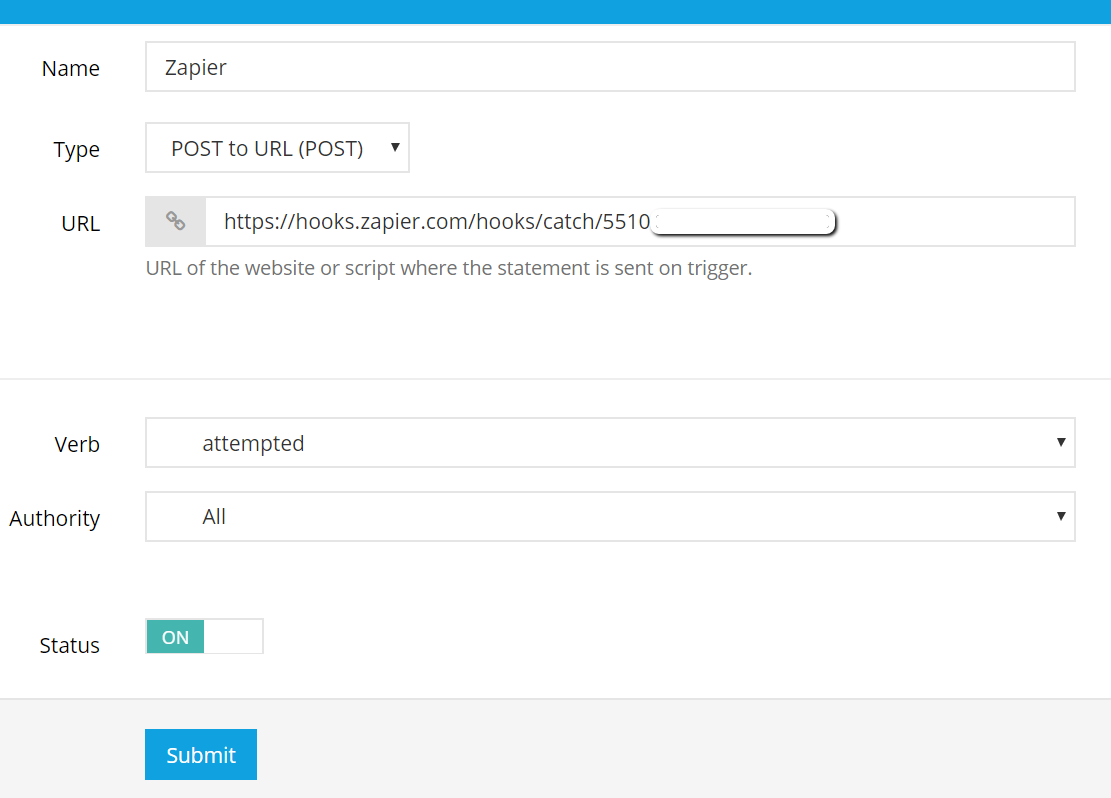
Note:
URL: Enter WebHook URL, you had generated in Step 5 above.
Step 7:
For Zapier to be able to set up, it needs a sample data. You can either do it by sending a matching statement to the LRS. Or going to an existing matching statement and clicking on “Re-run Triggers”.

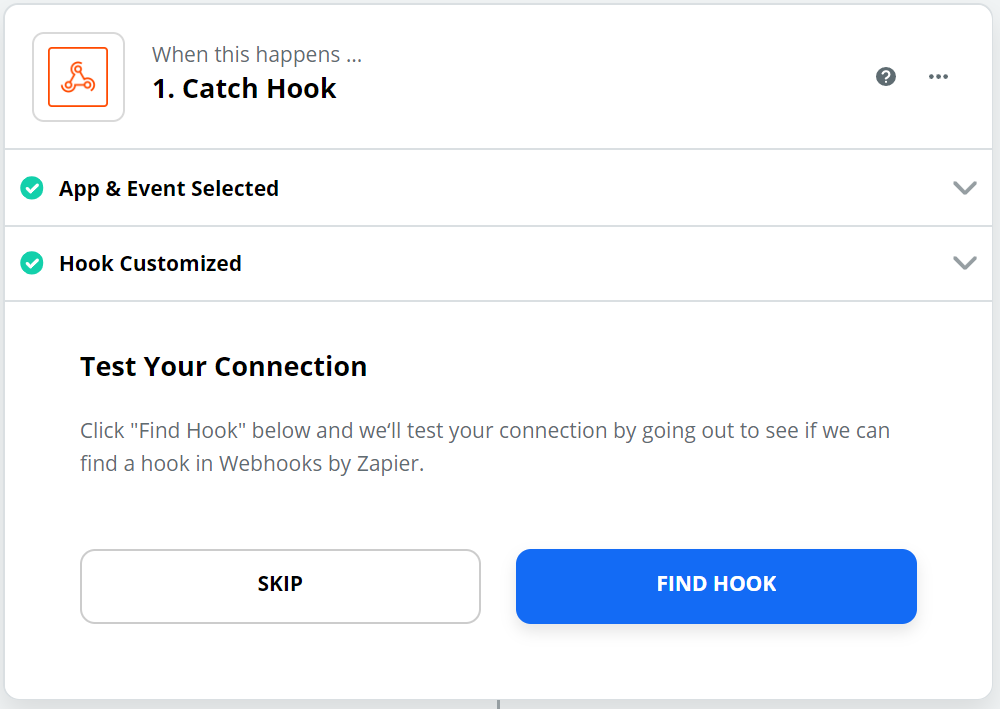
Step 8:
Go back to Zapier, it will ask you to Test Your Connection. Click Find Hook to test the connection.
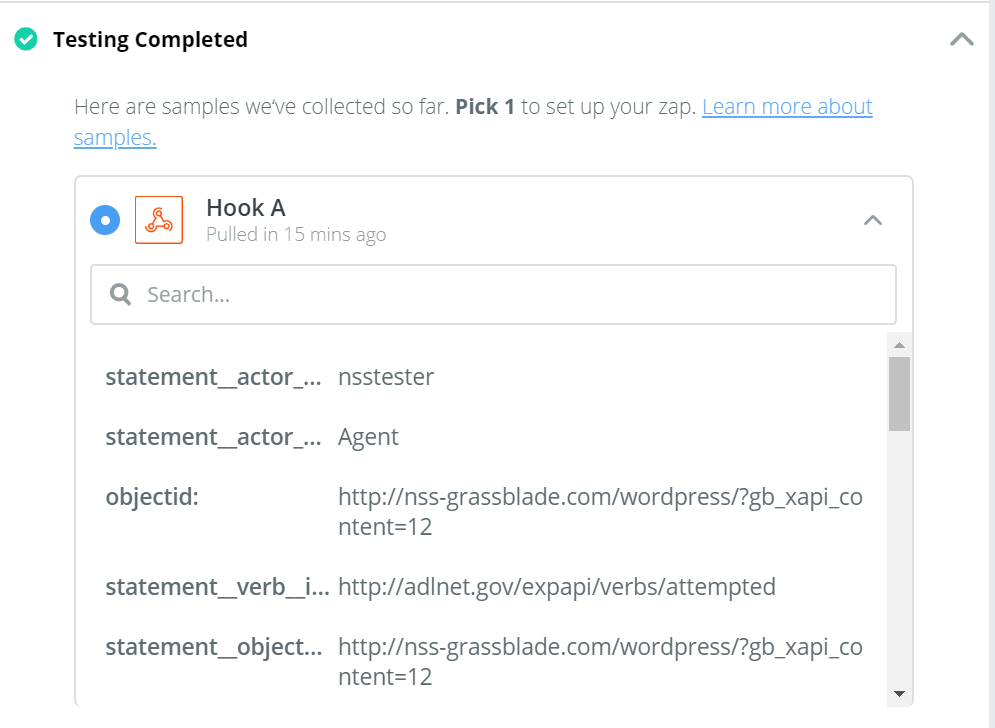
After successful testing, you can see that statement data from LRS, for which you had created a trigger.
You have now successfully set up your WebHook action. The setups so far will be the same for any Zap you create.
Setup in the next section might differ if you want to integrate with another application instead of Google Sheets.
Setting up your statements based Action
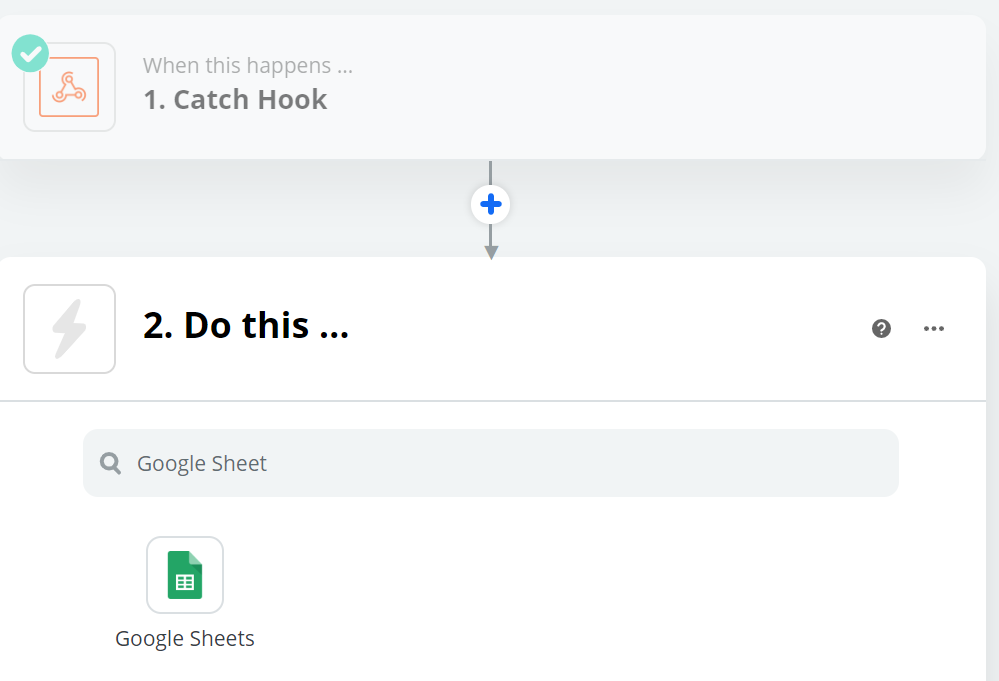
Step 9:
You are now in “Do This” section of Zapier where you decide what the Trigger setup earlier will do. Here, you can search for the target app. We will look for Google Sheets.
Step 10:
From “Choose Action Event” dropdown select what you want it to do in Google Sheet.
For Example, I want to Create Spreadsheet Row.
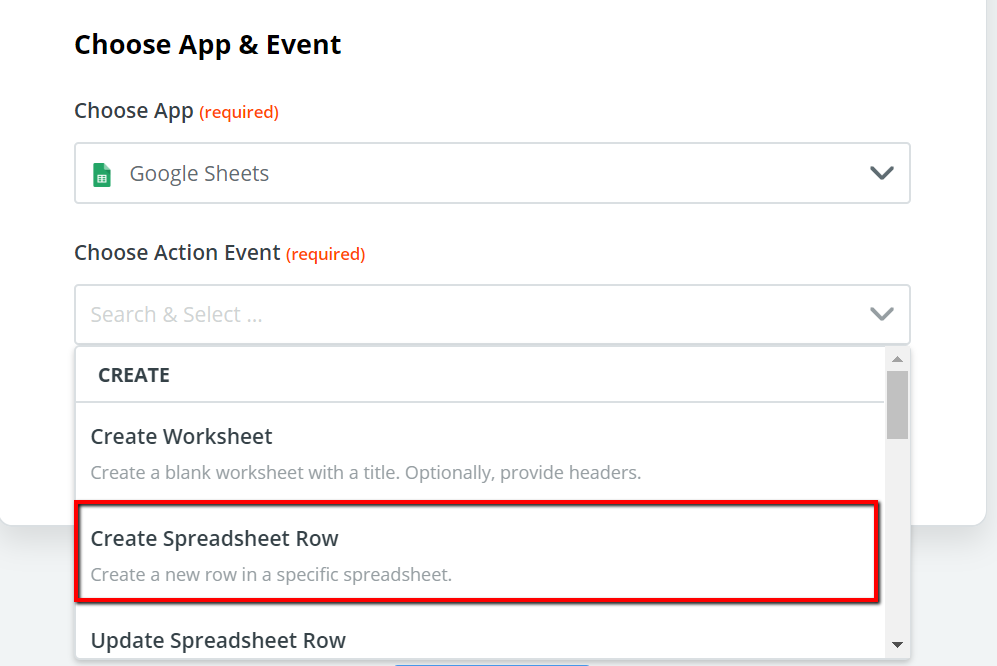
Click the Continue button after selection.
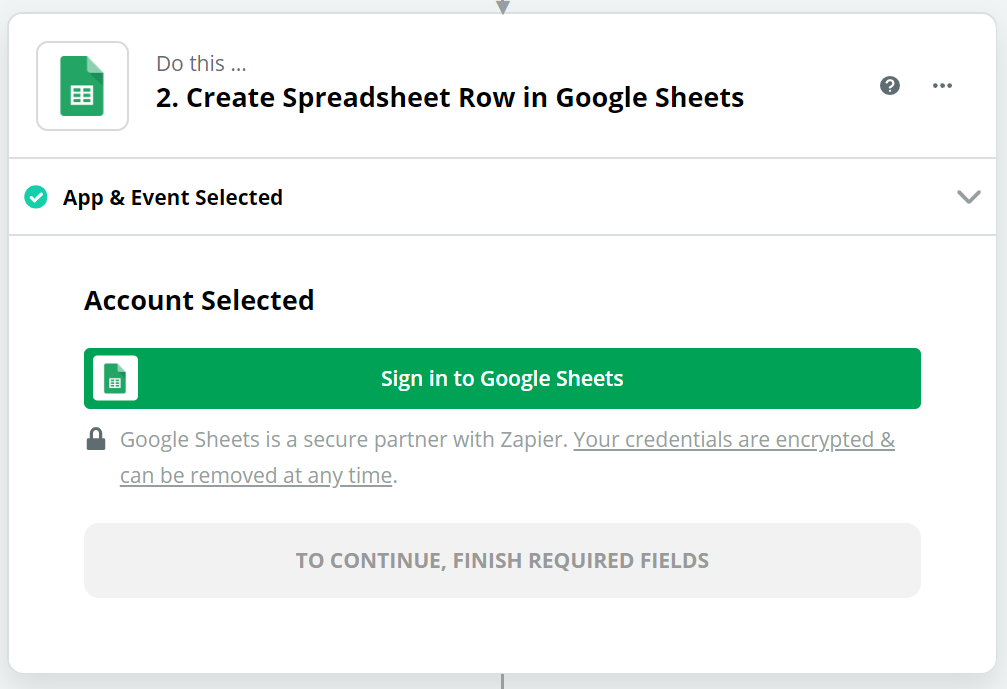
Step 11:
Click Sign in to Google Sheet, to sign in.
Step 12:
Go to your Google Sheet account and create a Spreadsheet.
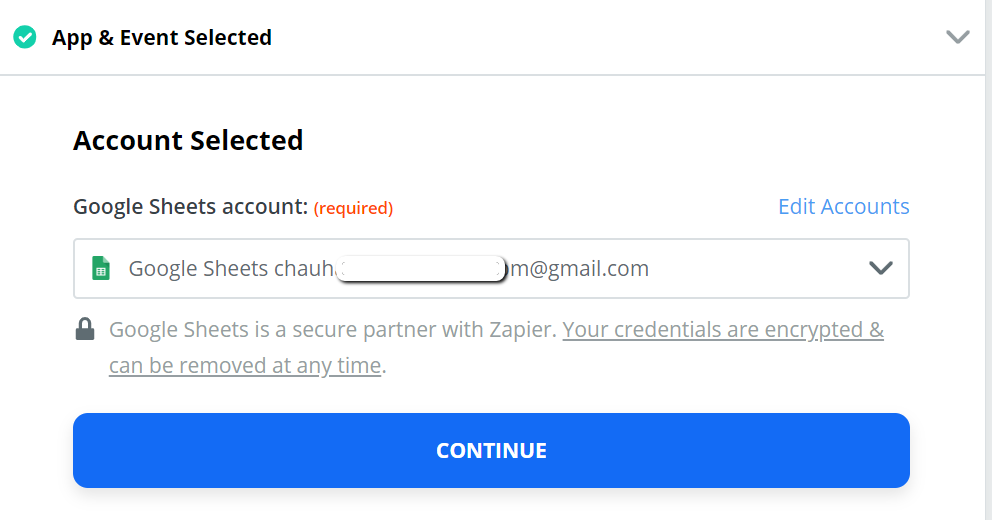
Step 13:
In Zapier, select account you have signed in and click the Continue button.
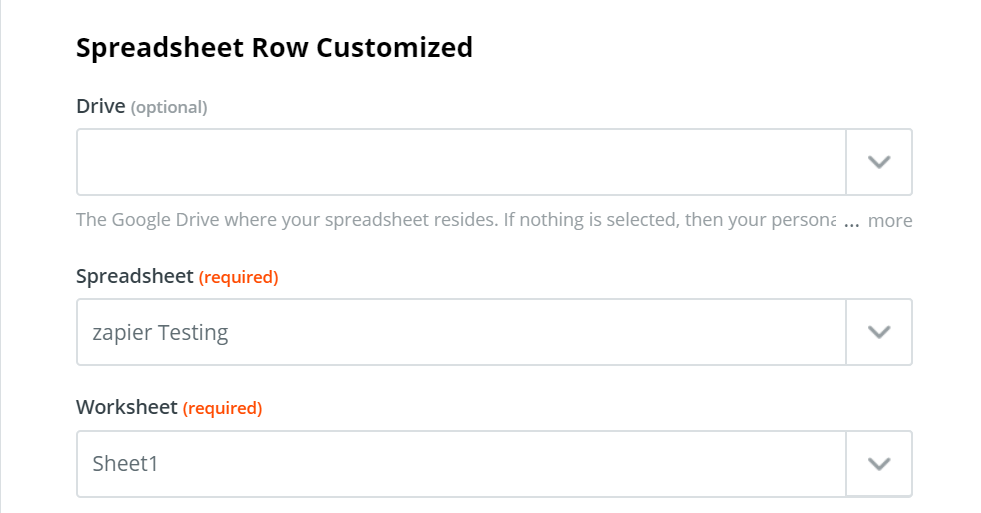
Step 14:
Now, select the Spreadsheet and Worksheet you created in step 12.
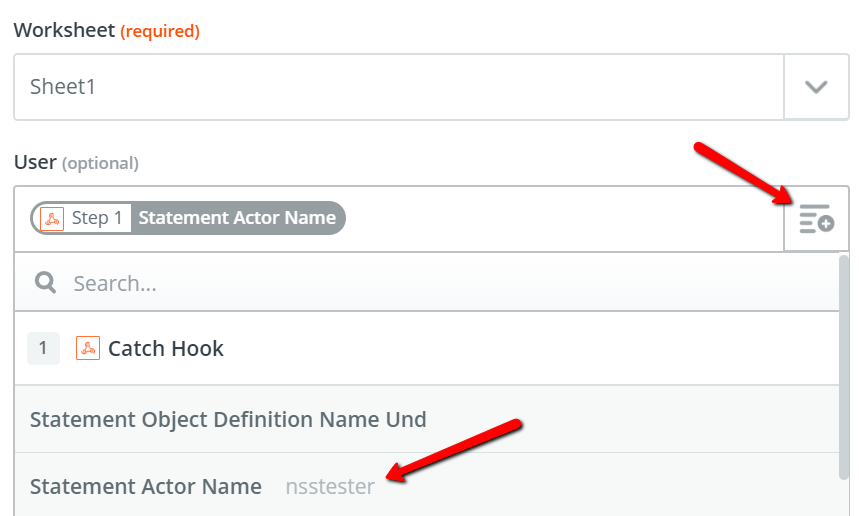
Step 15:
Once, you select the Worksheet, you will see all the columns you have created in that particular sheet.
Like, I have created a User Column in my Worksheet, and I want to show the name of the user who attempted the xAPI content.
Step 16:
Save and Test your Zap.

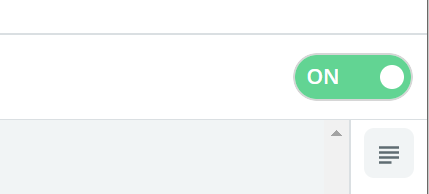
Step 17:
Once the setup is complete, turn on this zap.
Zapier will now add a row in the Google Sheet ever-time a user attempts an xAPI content you can add more columns to add more information. I added User, Verb, and Timestamp.
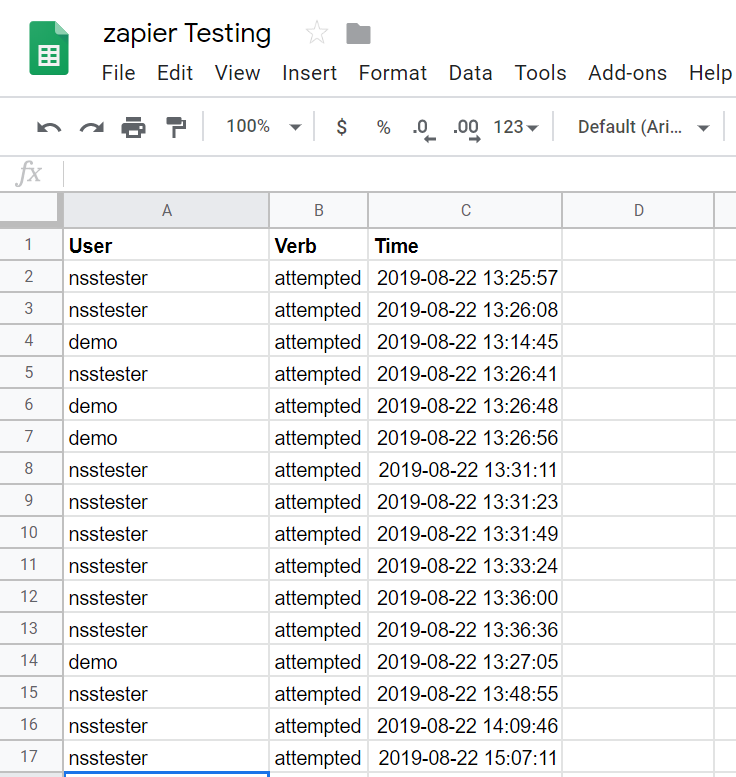
As you can see, it is showing this data in Google Sheet of every attempt done by users.
We hope you find this information useful. If you’re facing any problem, feel free to contact us.